When you first log into Kloodle, you’ll want to know what it’s all about. The following post describes a routine to discover Kloodle’s basic flywheel.
🏫 Step 1: Create Your First Class
The first step is to create a class. To do this, click on “Classes” in the menu on the left and “Add Class”. 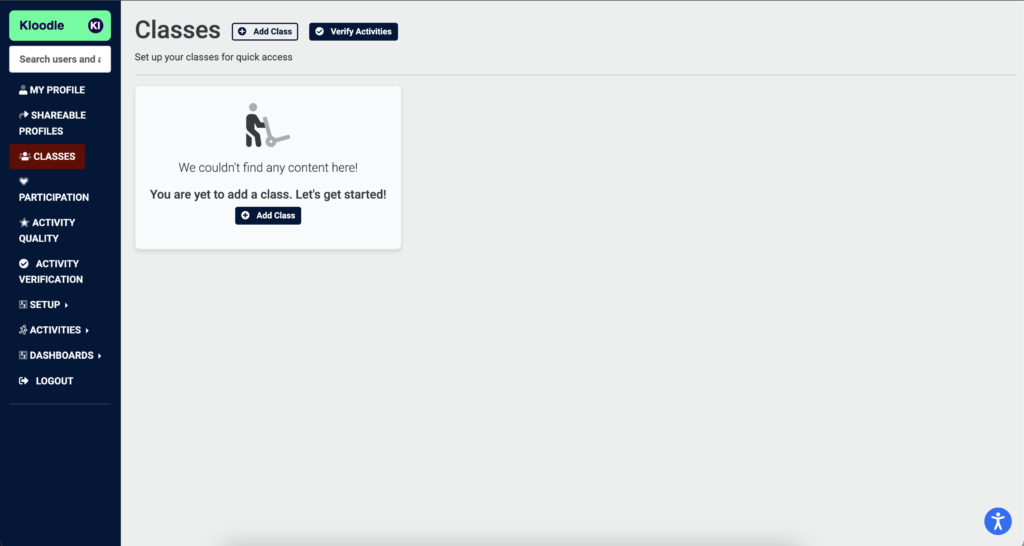
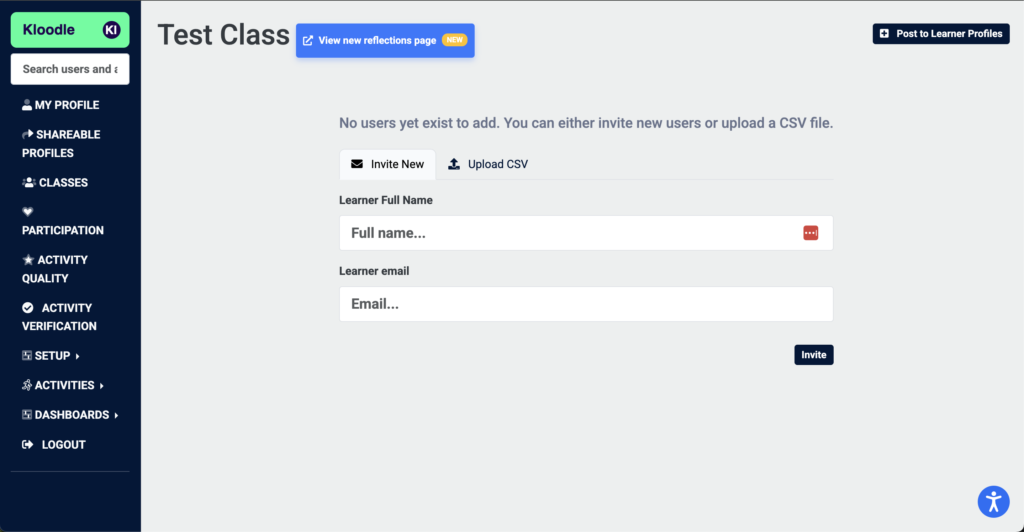
👤 Step 2: Add a Learner
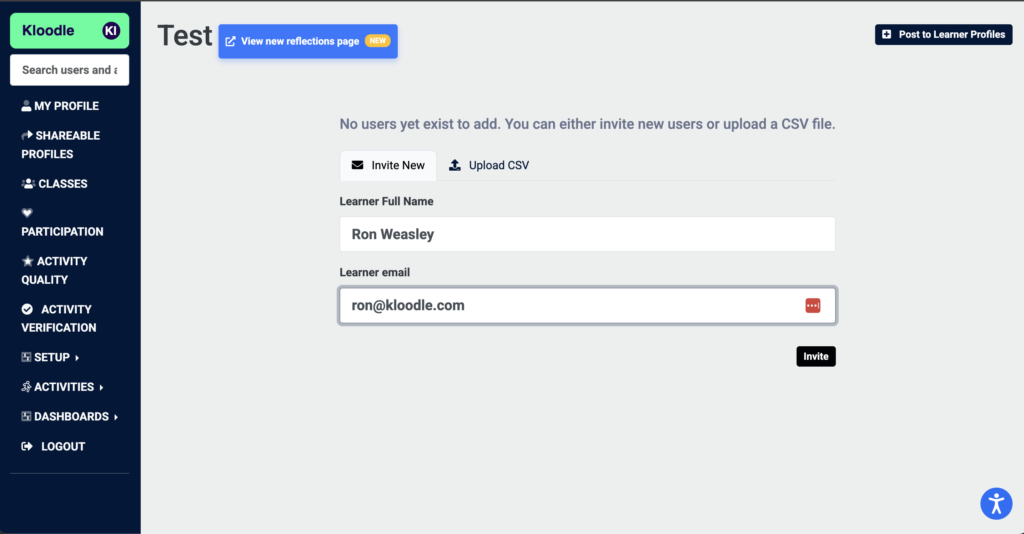
Next, you’ll want some learners in that class. You’ll see the blank form to add a learner.
To begin with, just create a random learner. Use your schools email address suffix with the prefix “random_student” e.g. random_student@kloodle.com.
Give the learner any name you wish.
🛠️ Step 3: Create a Skills Wheel
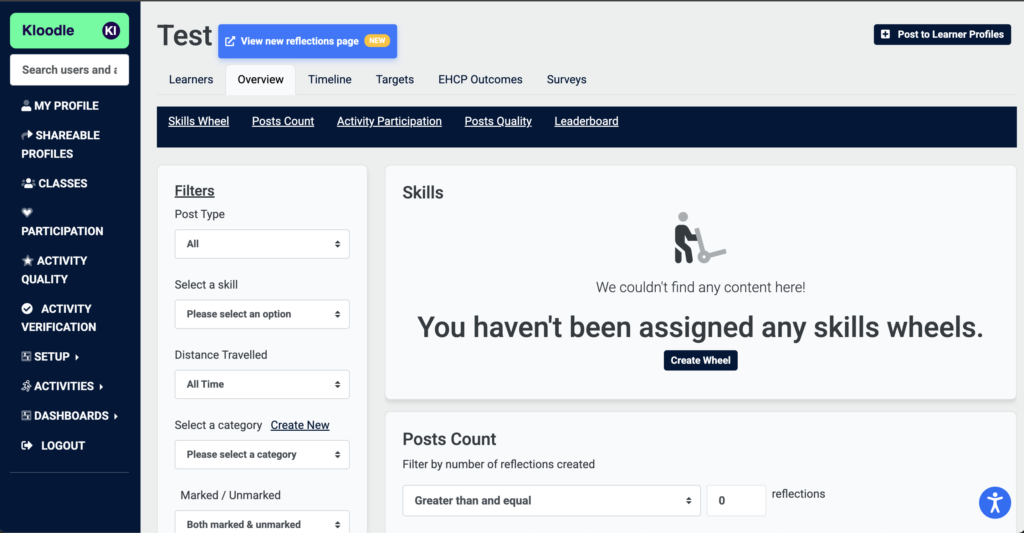
Once a single learner is added, the main class view will appear.
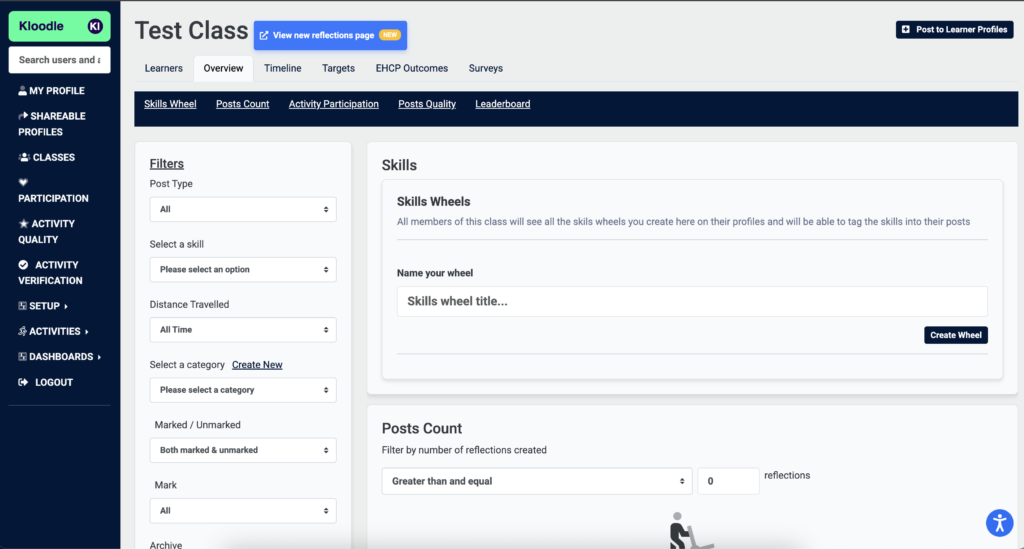
The first thing you will notice is that the skills wheel section is blank. Let’s create our first wheel.
Click “Create Skills Wheel”.
Give the skills wheel a name and save it. You will see the following screen.
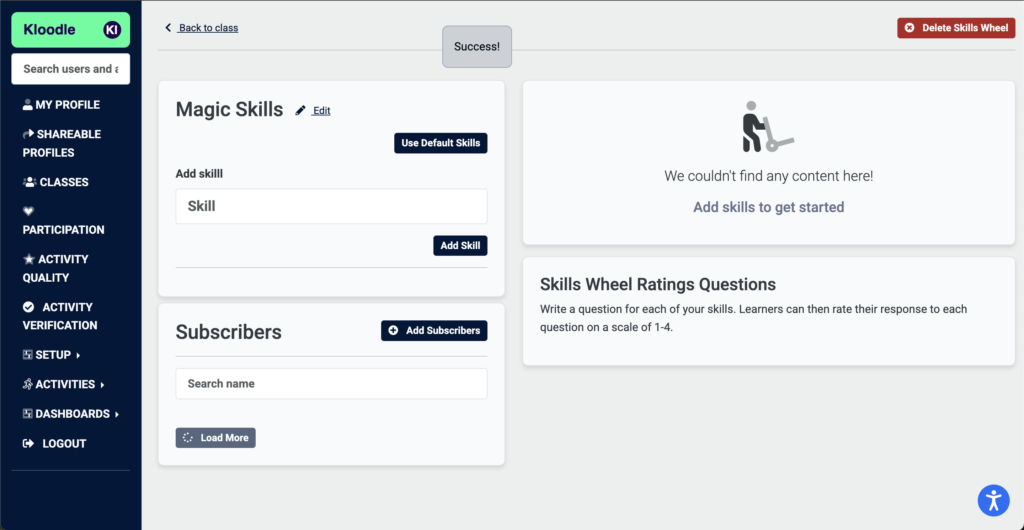
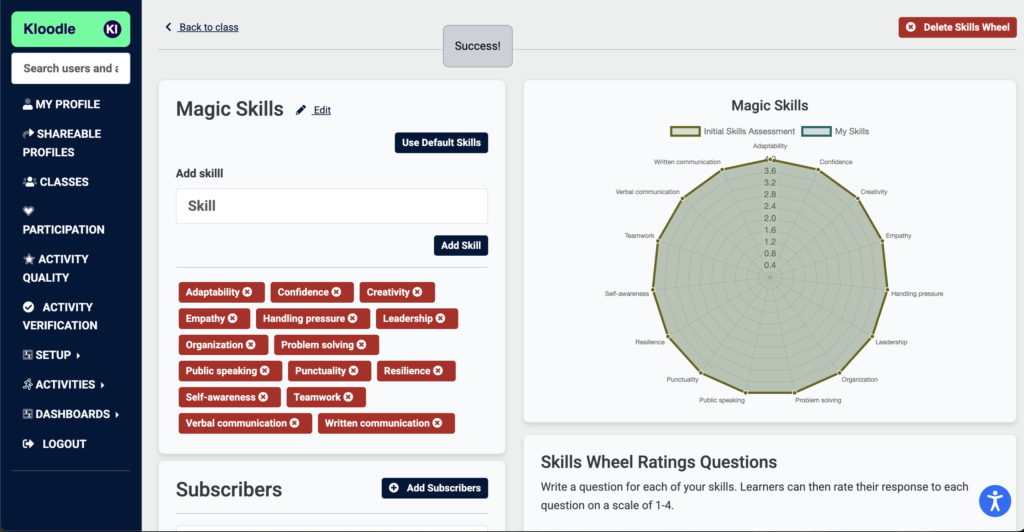
Here, you can create your own skills, or use Kloodle’s default skills. For the sake of this tutorial, I will use the default skills.
You will see the wheel populate when you add them.
📝 Step 4: Post to Learner Profiles
Next, return to the class and click “Post to learner profiles”. We are going to create some skills evidence on the learners’ behalf.
You’ll be greeted by the post screen: –
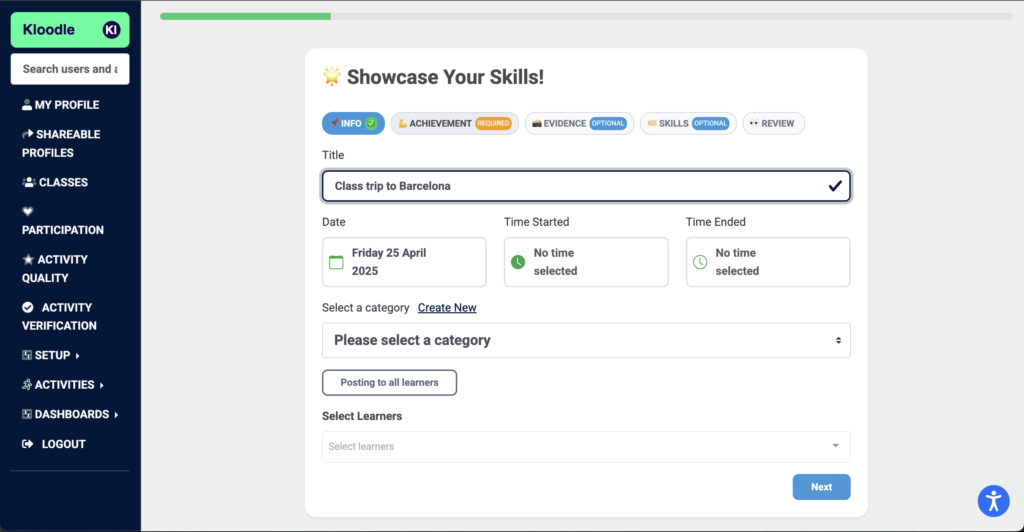
Add in a title and make it fairly descriptive. Use a real-world example if you can.
When you click next, you will see the body screen. As we have a decent title, we can click “Generate example post” this will use AI to create a post from the title.
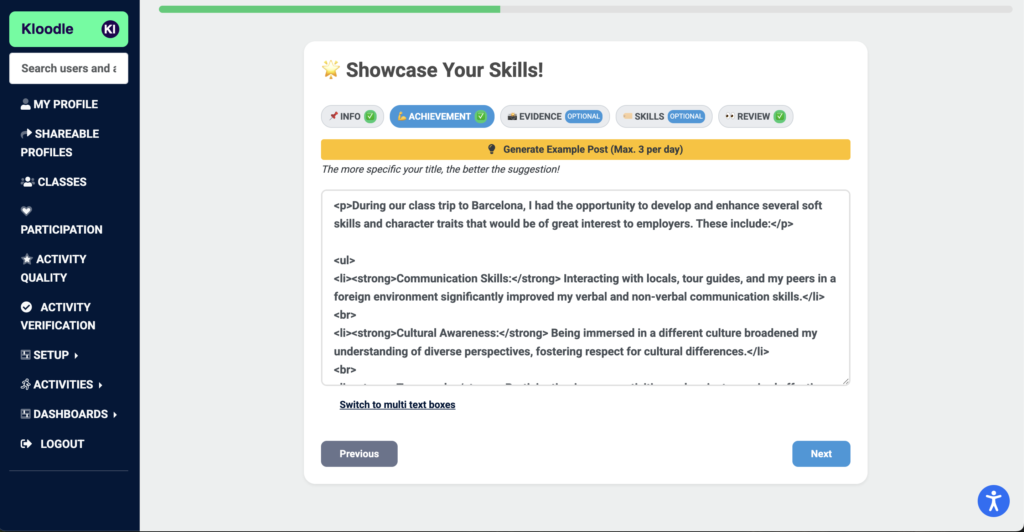
Click Next.
You can now upload media, but we’ll skip this for this example.
Next, you’ll tag in the skills you feel this post has best demonstrated. This will be reflected in the class statistics later on.
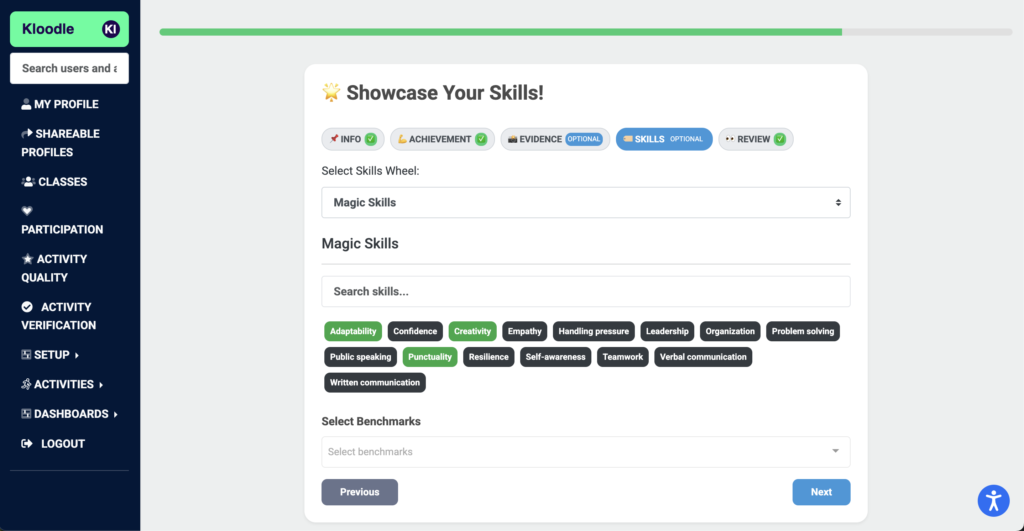
Click “Next” and review your post.

Clicking “Share your achievement” will create the post and publish it to all the learners in the class.
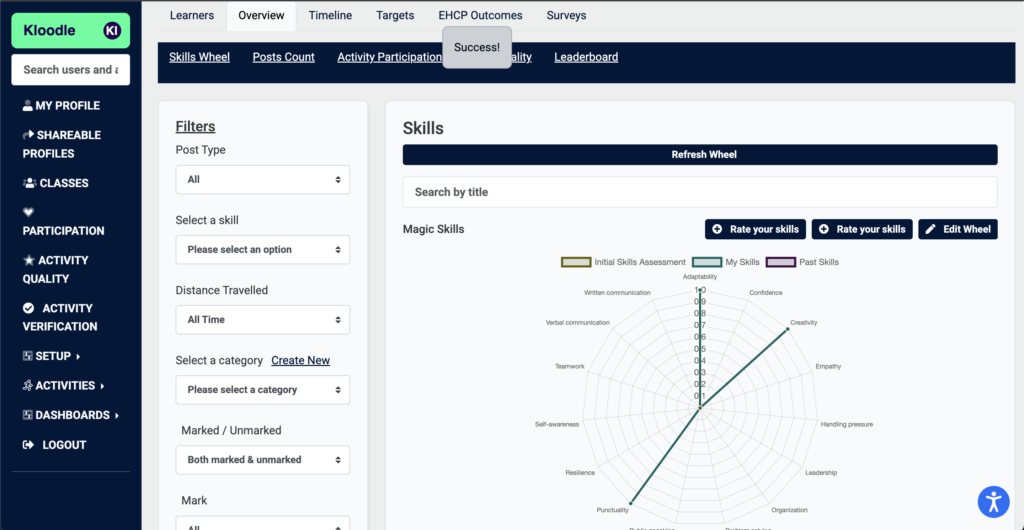
📊 Step 5: See It in Action
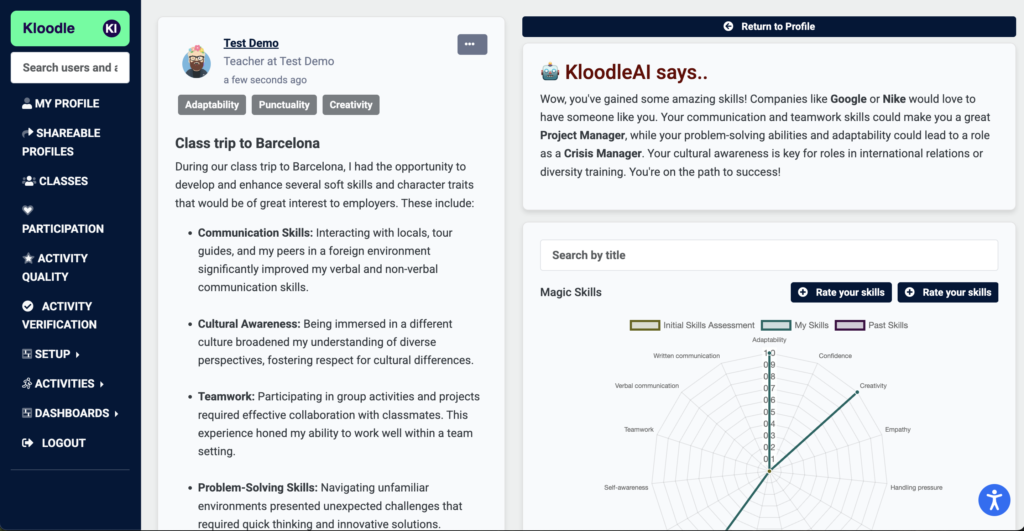
Going back to the class, we can now see our skills wheel has grown!
And if we click on “Timeline” we can see that the post has been added to our user’s profile.
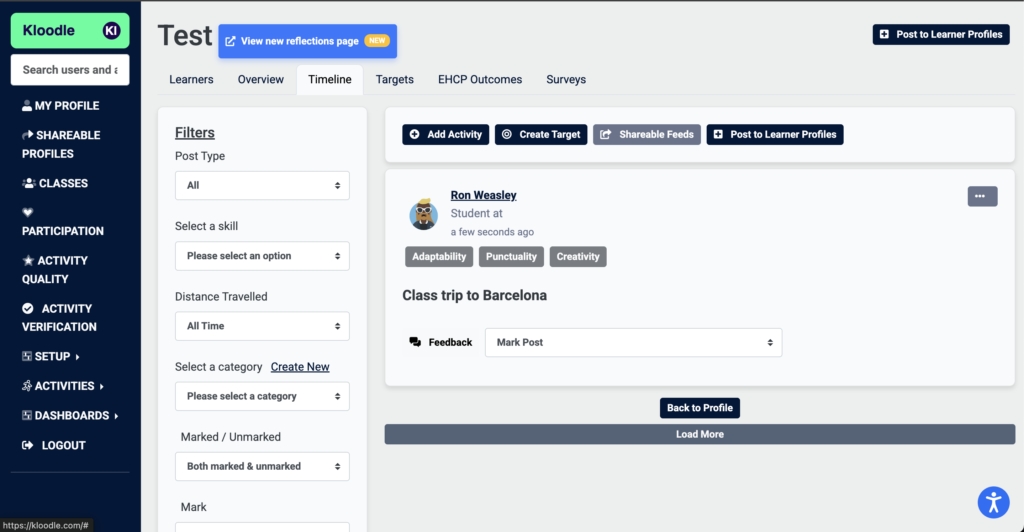
And there it is! Your first post to a class on Kloodle.
✅ Next Steps
Now that you’ve completed your first loop:
-
🔓 Create real classes and add learners
You can do this manually, or email phillip@kloodle.com for a bulk upload -
🧑🎓 Let your learners log in
They can use Google or Microsoft logins to access their profiles and begin creating reflections themselves -
📅 Track real-world activity
Get in touch if you’d like to integrate extracurricular tracking and PD curriculum mapping—we’ll help you set that up.