
To create an administration group on Kloodle, you need to be logged in as a teacher or as a college admin. Once you have logged into this account: –
Select the Groups option in the left hand menu
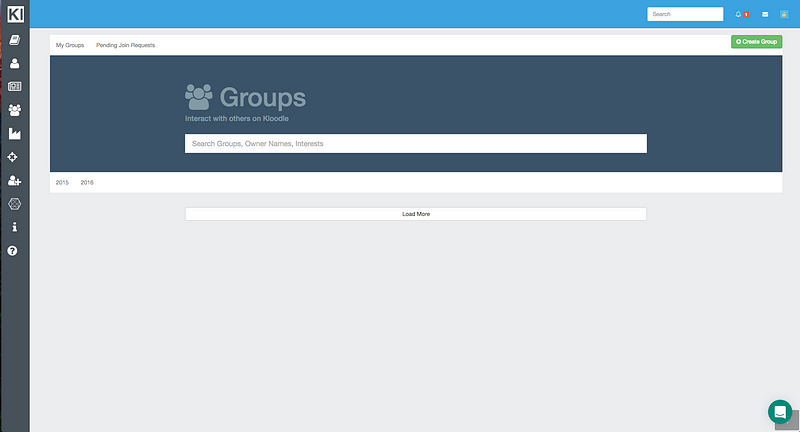
Click on the green Create Group button
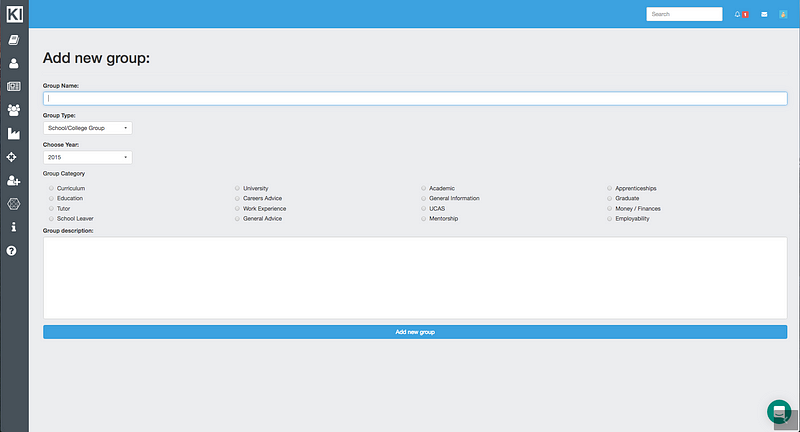
Fill in the necessary details. Make sure you select College Group as the option in the middle option. If you do not see this dropdown, you need to contact your account administrator to get your account upgraded to a teacher account.


Click Create.
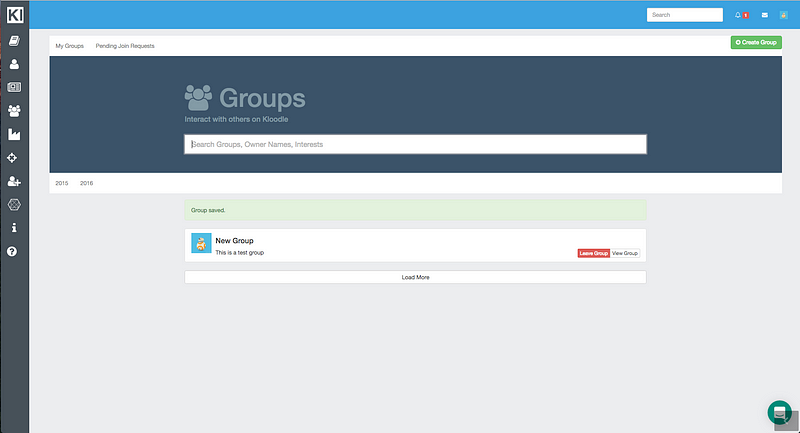
How students can join your group
Your students will now be able to search for and add themselves to your group. Once they have requested to join your group, their membership status will be Pending You will have to accept membership requests in order to let students see the group and be a member of the group. As students make membership requests you will receive notifications at the top of your Kloodle profile. To accept membership requests:-
Clicking on the notification takes you straight to the page to accept requests. Alternatively: –
Click groups in the left hand menu.
My Groups should be displayed by default
Click on the group you want to accept requests for,
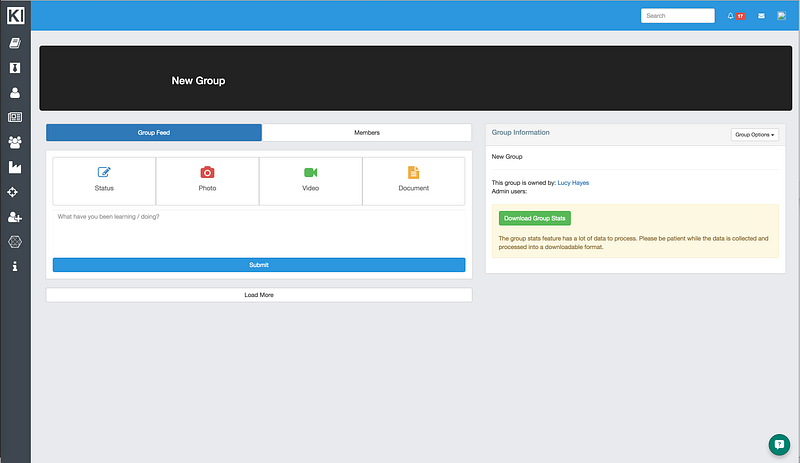
Once in the group, click on the drop down menu in the left hand box
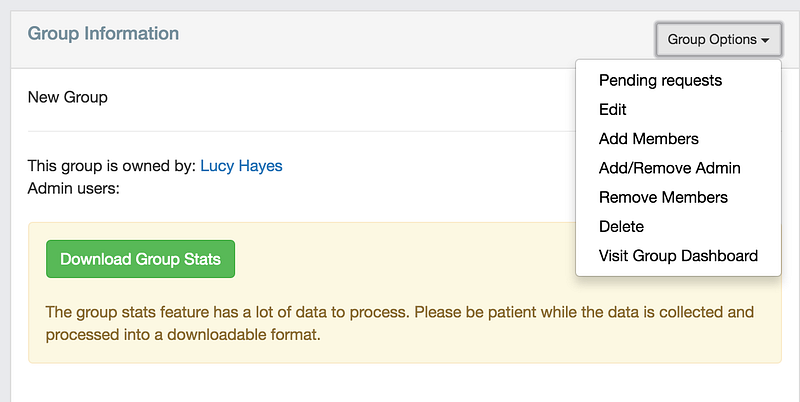
Click Pending Requests
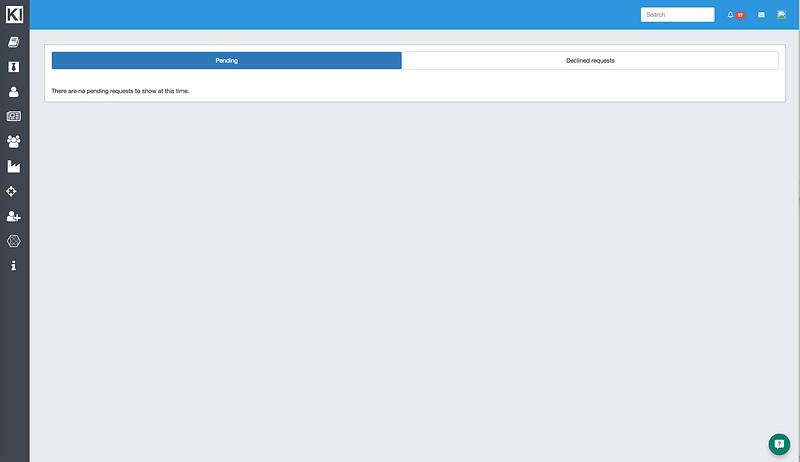
This will take you through to the Pending Requests screen.
You can here accept all by clicking the Accept All button, or you can select each member individually.