
Action plans are fantastic ways of organising your goals and outlining the steps required to achieve them. By creating solid action points derived from your overall career goal, you are laying out a concrete plan for success. After all, goals are dreams with deadlines. As a teacher, you can help your students develop the skill of breaking big goals down into smaller, actionable steps. By doing this, your students will have a blueprint to succeed, whatever your career goal.
Action plans on Kloodle are tied to evidence. Students must upload either a photo, blog, video or document to demonstrate that they have achieved each step in their action plan. By doing this, students demonstrate they have thought through the significance of each point and have identified the important aspects associated with its completion. Whats more, the evidence created as part of an action plan builds up a students profile and strengthens what they share with an employer or admissions tutor.
Building an action plan on Kloodle is easy. Heres how: –
Click on Action Plans in the sidebar menu
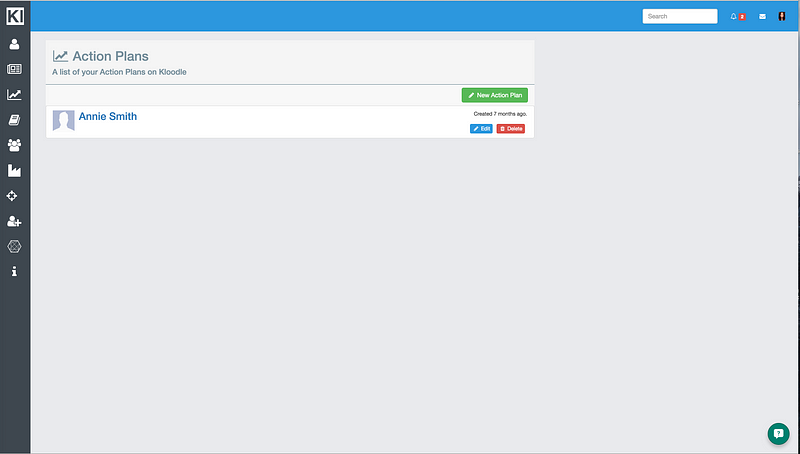
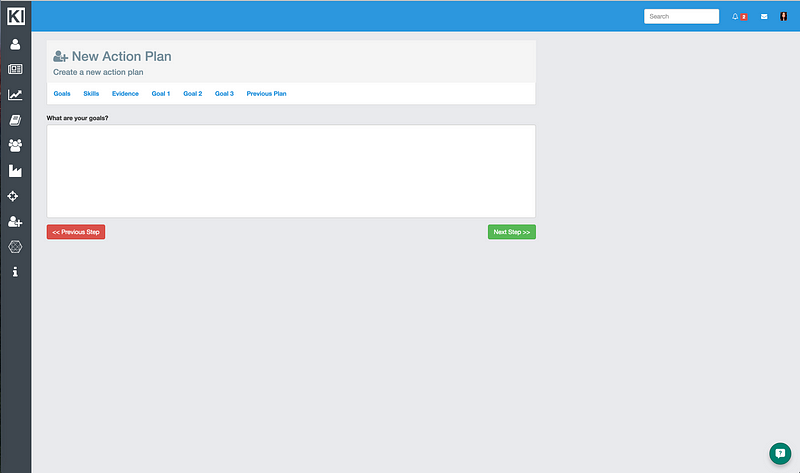
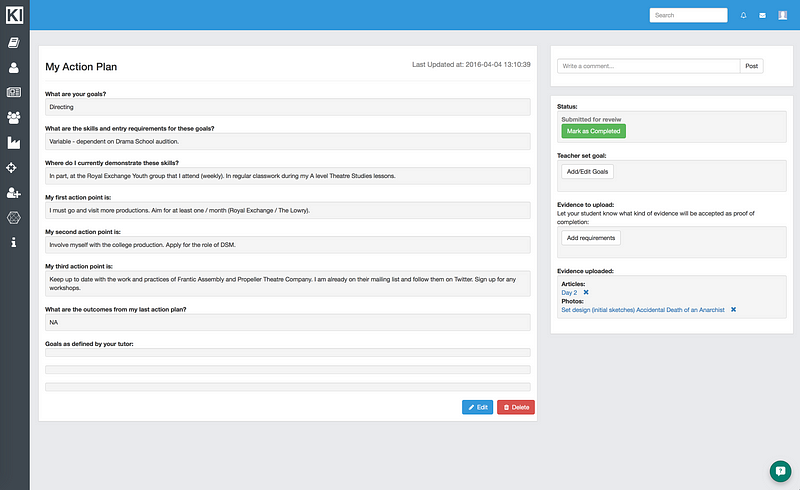
Youll be presented with the following screen. The first question is to state your overarching career goal.
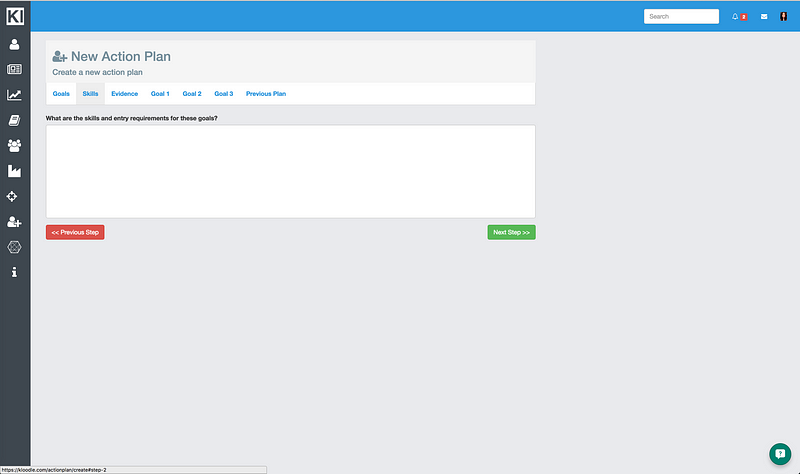
The second question asks what the main skills are that are required to achieve this goal. If the goal in step 1 is career orientated, I recommend googling XXXXX required skills where XXX is the career of choice.
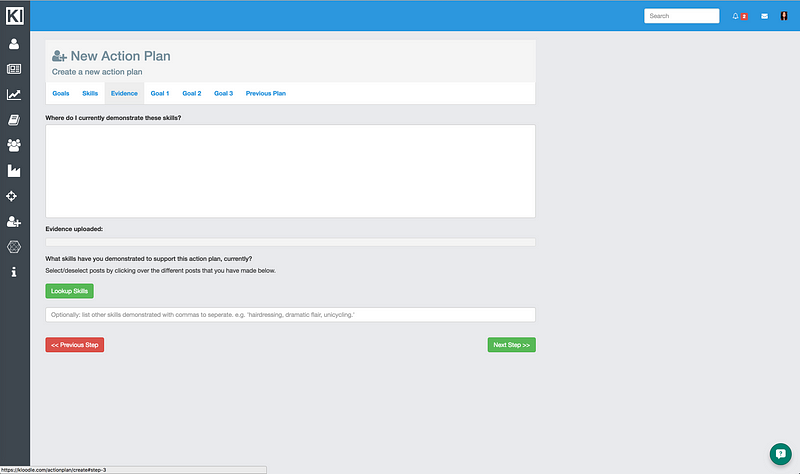
The next question is a brief overview of where the student currently demonstrates these skills. You can start to attach evidence at this point by clicking Lookup Skills, however, we are going to assume the student hasnt uploaded any evidence just yet and will gather this at a later date. Instead we are going to write a couple of sentences of ideas where the student demonstrates the skills from the previous step.
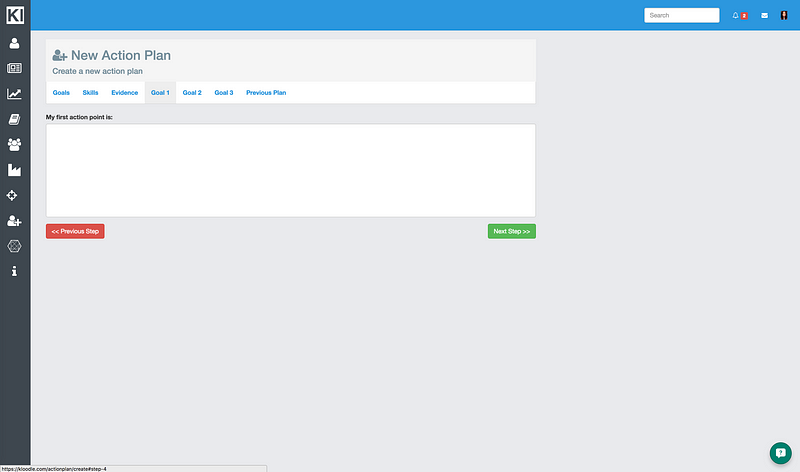
The next step is to create action point 1. This should be a concrete, actionable step that works towards the students main goal. Incidentally, this process can be written by the student on their own, or sat next to a teacher as part of a one to one. If the student writes this alone, the teacher can add comments as to what they think the action points should be.
Action point 2 is a repeat of the previous step.

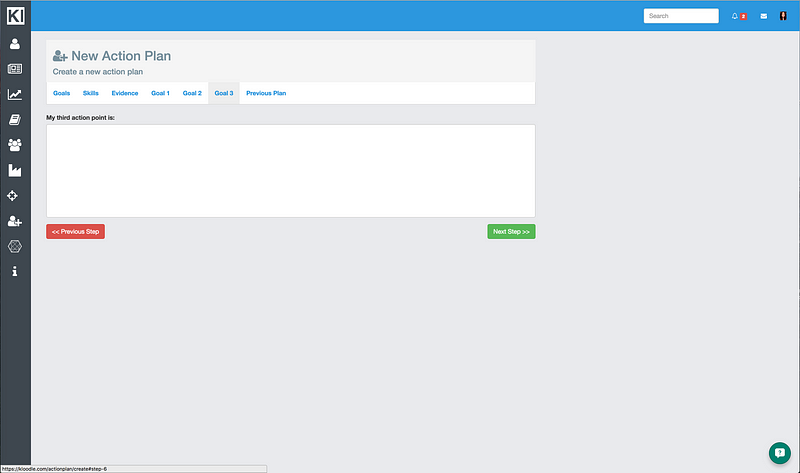
And the next step is the third action point. We have chosen three action points as this is a manageable number of steps to achieve over the course of a term.
The final step is a brief summary of the progress made since your previous plan. This can be left blank if this is your first plan.
Once the student has finished populating the first action plan form, they can click Save and they will be presented with the screen below. They will then click Submit for Review. This will submit the action plan to the students personal tutor.
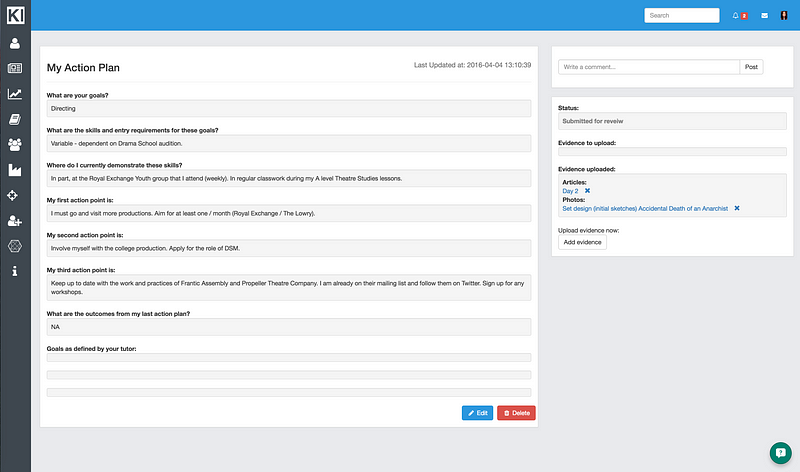
Once submitted, the student will see Submitted for review in place of the green button.
TEACHER VIEW
We have now switched to the teacher view. Once your student has submitted an action plan, youll receive a notification in the top right hand corner of your screen. Clicking on the notification will take you to the action plan.
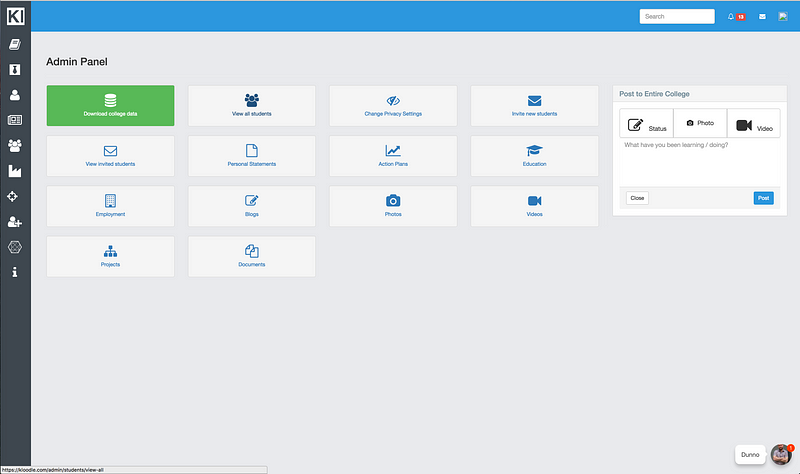
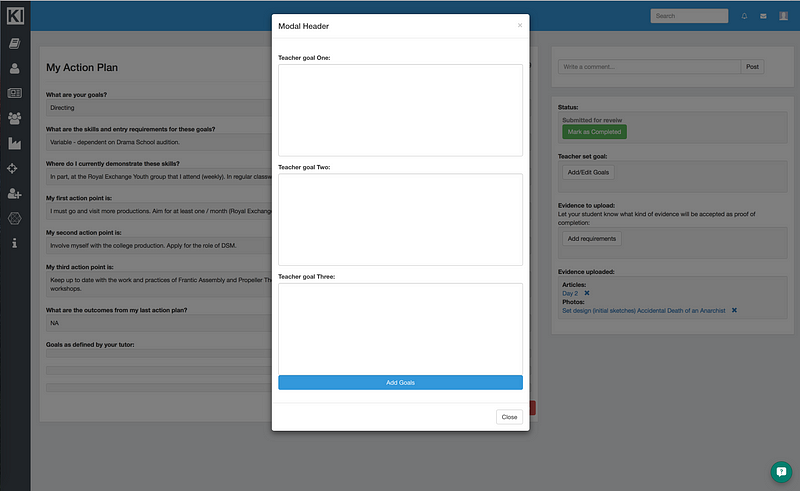
You will see the action plan that has been submitted. In the panel to the right, you will notice you have a few buttons to click. The first one we shall click is the Add / Edit Goals
Clicking this button will present the following popup. Here you are able to set the student three goals for the student. I would base these on the goals the student has set for him or herself.
We shall then click on the Add Requirements button. Here well check the types of evidence we want to see that will satisfy the goals we have set. In this instance, we want the student to upload a blog, a photo and a document.
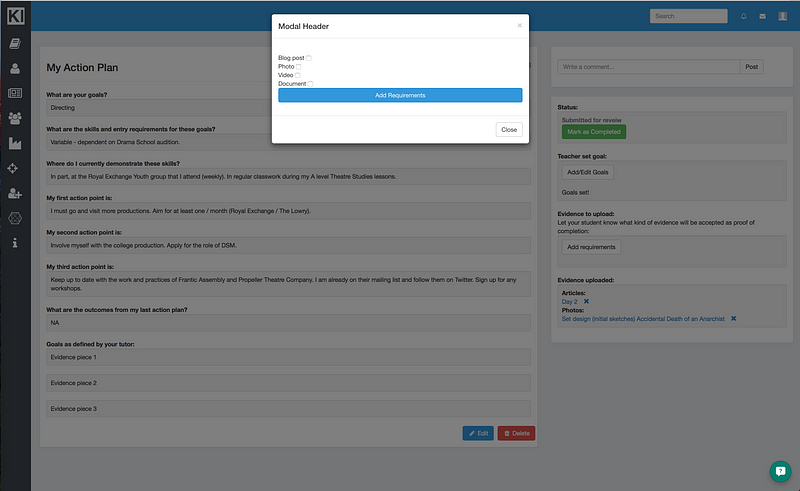
Once you click Add Requirements youll see the work you have set for your student.
STUDENT VIEW
Well now log back in as a student. Once his teacher has set him some goals, Shaban will receive a notification that he has work to do. Clicking on the notification will take him back to his action plan.
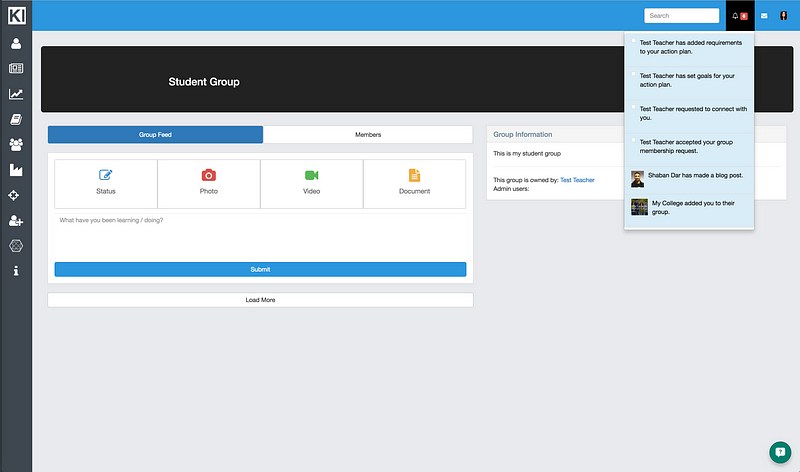
In the panel on the right hand side, the student will see the types of evidence they are now required to upload to satisfy their action plan. At the bottom of the main screen, theyll also see the goals their teacher has set them.
At this point, the student will need to add the evidence the teacher has set out, to their profile. This is done in the usual way of uploading photos, videos, documents or writing a blog.
Now lets return back to our action plan. Our student then needs to click on Add Evidence
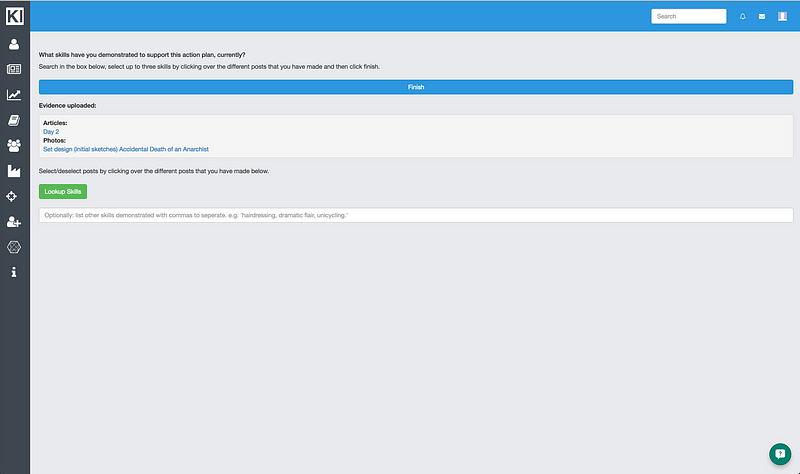
Youll be presented with the following screen. Clicking on Lookup Skills shows all of the skills the student has evidenced on Kloodle. By selecting one, you can see the blogs, photos, videos and documents associated with that particular skill. In this instance, well click on Professional Behaviours
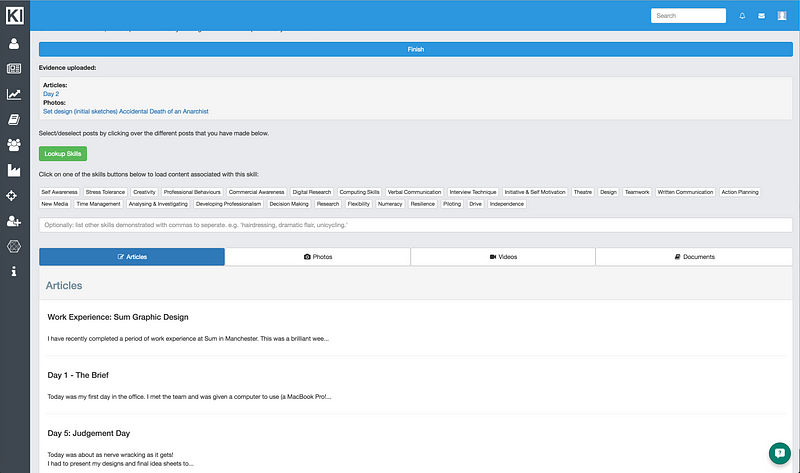
First, well select our article by clicking on it.
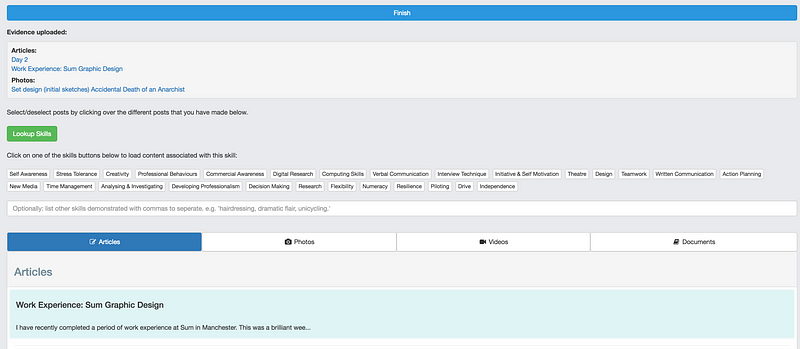
Second, well select our photo by clicking on the Photo tab and clicking on the photo we want to tag. Note the pieces of evidence we upload populate the Evidence Uploaded section.
Once you have selected all of the required pieces of evidence, click the big blue Finish button.

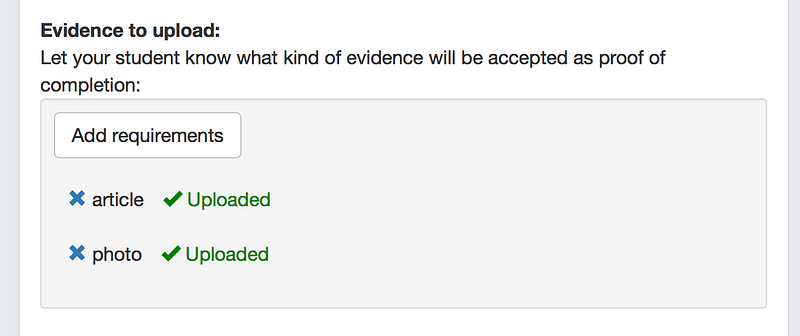
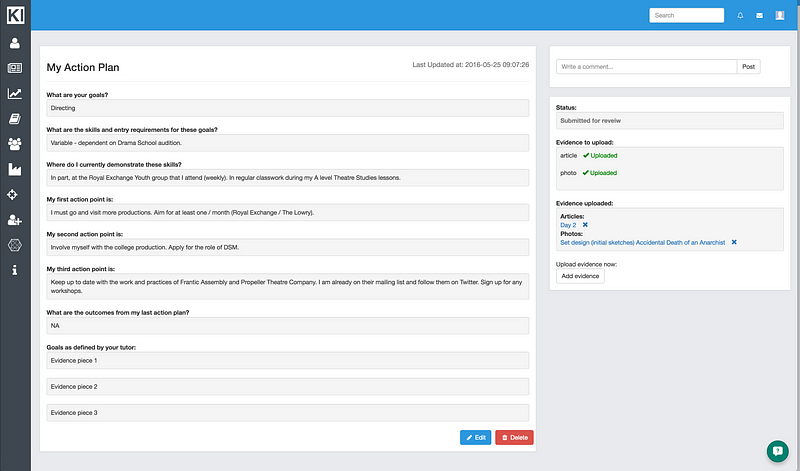
Youll see your action plan, now with a lot of green ticks next to the pieces of evidence your teacher asked you to upload.
TEACHER LOG IN
Now as a teacher, youll receive a notification that one of your students has uploaded some evidence. Clicking on the notification will take you through to the action plan.
You can view all of the associated pieces of evidence by clicking on the links in the Evidence Uploaded section. If you are pleased with the evidence uploaded, you can click Mark as Completed
The button will change from green to red, and the student will receive a notification.
STUDENT VIEW
The student will get a notification that their action plan has been marked as complete.
Clicking through to the action plan, the student will see the status has been changed to Completed.