
Writing tutorials for our site is a time consuming but necessary affair. Were gradually getting better at this. We realise that as software in education, our tutorials are imperative. A good tutorial should communicate the instructions in 3 ways: –
- The written word
- A video
- Screenshots
Screenshots
We start each tutorial with screenshots. We go through the feature and screen grab each action we do. I am using a Mac. You can grab screens easily by using Cmd+Shift+4. This allows you to select the screen area you wish to grab. This is a great tool for selecting smaller areas of the site to illustrate points.
The written word
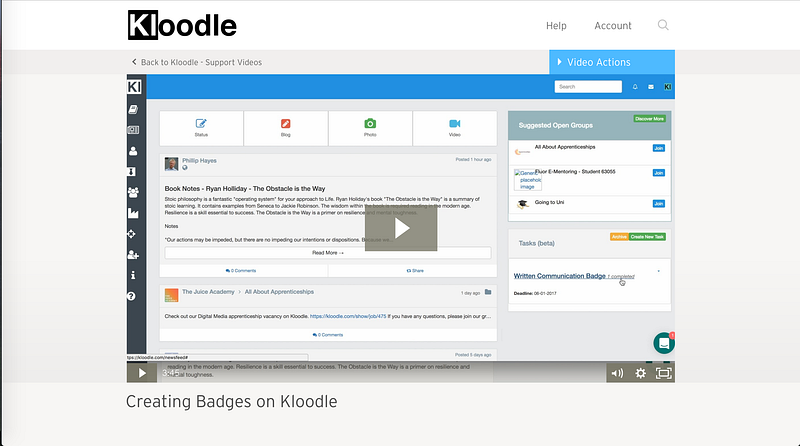
Setting up a tutorial is done in the blog section of our site. We also have a redirect set up for the url https://support.kloodle.com that goes to all of our support articles. We use WordPress for our blog (Whoa Theme; Sleek, if youre interested). This allows us to quickly and easily set up an article. We create a new post in WordPress and give it a title like How to Create Badges on Kloodle, which is, incidentally, the post Im working on whilst writing this article! See it here.
Once the new article has a title, we upload ALL of the screenshots taken in the previous section. You can do this in WordPress by clicking Add Media and then dragging all of the screen grabs into the drag and drop zone. Once theyre uploaded, be sure to de-select all the images (remove the blue tick), otherwise itll dump them all in your post.
We then start to write instructions for the feature.
Instructions need to be as simple as possible. I try to use simple words and use only one line before posting an image. Another good idea is to space heavily. Bunched words and images can be confusing. Also, emboldened titles should be used liberally. This signposts your tutorial and helps the reader.
The Video
The video is slightly more complex. We use three pieces of software to record our video. These are: –
- QuickTime??already built in to the Mac and can perform screen recordings
- iMovie??again, built in to the Mac and can edit the raw footage from Quicktime
- Garage Band??Records sound more easily than in iMovie
Raw Footage
First, I use QuickTime to record the raw footage of the tutorial. I basically use the feature from start to finish whilst performing a screen recording. This is easy to do in QuickTime. Heres a tutorial.
Editing
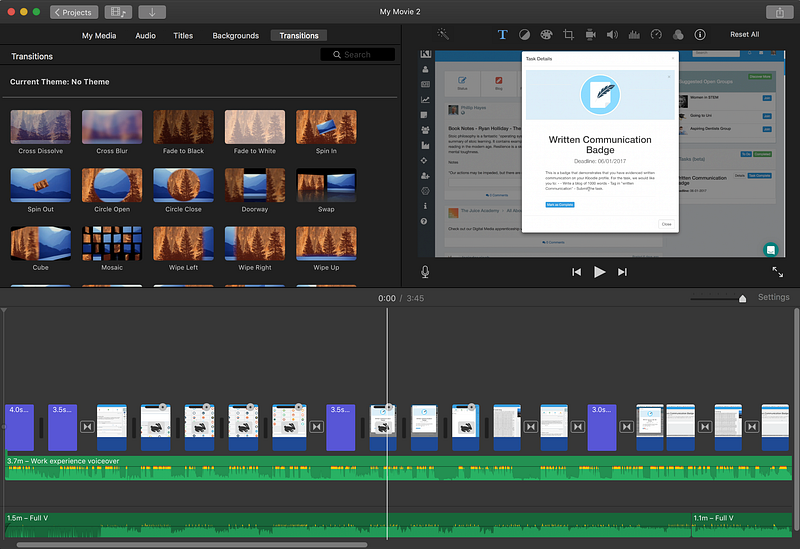
I then import the raw footage into iMovie. I can then chop pieces out, lengthen pieces that need further explanation, mess with the timings and add captions. iMovie is fairly self explanatory. I learnt by clicking and Googling. If I didnt know how to do something Id just google it.
Sound
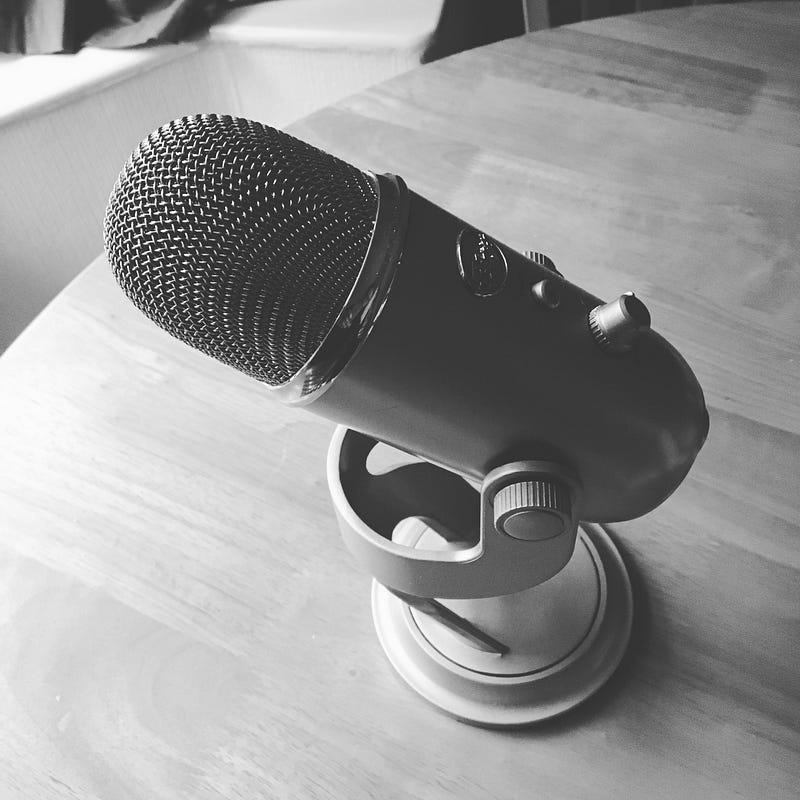
Once the footage is in order, I then record the spoken instructions. I tend not to write a script for this. It would probably save me time if I did. There are a lot of out-takes to my recordings. I try to do these whilst at home using a Blue Yeti Microphone. The kids are usually in the house so interruptions abound. I get there in the end though!
Finishing up
Once I have the sound, I then import it into iMovie and tinker around so the timings are reasonable. When thats done, I save the movie to my Mac. We then upload our tutorials to Wistia. Videos hosted on Wistia can then be embedded within WordPress. I embed ours right at the top.
As novices, we took inspiration from tutorials we found around the net. The biggest influence was Intercoms support site.